
When it comes to achieving the best audio quality, understanding your microphone settings is crucial. If you want to customize your mic effectively, you must get familiar with its features. You might have the fanciest mic on the block, but if you don’t know how to use it, you might as well be talking into a tin can! One of the first settings to understand is gain. Gain essentially controls how sensitive your mic is to sound. If you crank it up too high, you’ll catch every little noise in the room, including that annoying clock ticking in the background. Conversely, if you keep it too low, your voice might sound weak and distant.
To find your ideal gain level and effectively customize your mic, start by speaking at your normal volume. Gradually adjust the gain until your voice comes through clearly without distortion. Think of it like tuning a guitar; just the right amount of adjustment can make all the difference! A good rule of thumb is to keep your levels peaking around -12 dB to -6 dB during recording. This way, you capture a rich sound without risking overload.

Next up is EQ, or equalization. This magical setting allows you to tweak the audio frequencies to make your voice sound just right. Are you feeling a bit too bassy? Dial down those low frequencies. Need a little brightness to cut through the mix? Boost the high frequencies. It’s a bit like cooking—adding just the right spices can elevate your dish. Experimenting with EQ can help you find that perfect balance, making your recordings shine.
Beyond gain and EQ, don’t overlook the importance of compression and limiting. Compression reduces the dynamic range of your audio, meaning it can make loud sounds quieter and soft sounds louder. This creates a more consistent listening experience, smoothing out any dramatic shifts in volume. If you’re aiming for that polished, professional sound, compression is your best friend. On the other hand, limiting ensures that your audio doesn’t exceed a certain level, preventing any nasty distortion.
You might be wondering how to monitor all these settings effectively. Here’s where a good pair of headphones comes in handy. Using headphones while you record lets you hear exactly what’s going into the mic in real-time. It’s like having your very own sound engineer by your side! You can catch any issues—like unwanted background noise or problematic peaks—before they become part of your final product.
To wrap things up, don’t forget to regularly check your settings as you record. Lighting conditions, distance from the mic, and even your vocal performance can change, so it’s important to adjust as needed. Being proactive about your mic settings can help you maintain high audio quality, making your content sound more professional and engaging. With a little practice and experimentation, you’ll soon feel confident in your ability to customize your mic settings for the best audio experience.
Choosing the Right Accessories: Customize Mic with Windscreens, Pop Filters, and Stands
Once you’ve mastered your mic settings, the next step in your audio journey is to explore the world of accessories that help you customize your mic further. These little gems can significantly improve your sound quality and overall recording experience. A windscreen is a fantastic place to start. If you’re recording outside or in a space prone to drafts, a windscreen acts as a protective barrier, reducing unwanted noise from wind gusts. It’s like giving your mic a cozy hat to keep it warm!
Even if you’re recording indoors, you might still benefit from a windscreen. It helps minimize plosive sounds caused by bursts of air when pronouncing letters like “p” and “b.” Imagine your mic sounding as crisp as your favorite snack—nobody wants to hear those distracting thumps! Windscreens come in various materials and styles, so choose one that fits your mic perfectly.
Now, let’s talk about the often-overlooked pop filter. This handy accessory serves a similar purpose as a windscreen but focuses specifically on managing plosive sounds. Placing a pop filter between your mouth and the microphone can drastically improve the clarity of your recordings. Pop filters are usually made of thin mesh or foam and are a must-have for anyone serious about their audio quality. They’re lightweight and easy to attach, so there’s no excuse not to use one!
But wait, there’s more! The next essential accessory is a mic stand. If you want to ensure your recordings sound professional, a sturdy stand is crucial. It helps keep your microphone steady, allowing you to maintain consistent distance and angle while speaking. A good stand can also free up your hands, letting you gesticulate passionately while you record. Whether you choose a desktop stand or a boom arm that extends from your desk, investing in a solid stand can significantly enhance your recording setup.
click here to learn more about how Setting Up Your Voice Microphone Like a Pro.
When considering accessories to customize your mic, don’t forget about cables. High-quality cables can make a huge difference in sound clarity, reducing any interference that might occur. Avoid cheap cables, as they might introduce noise or degrade your audio quality. It’s worth spending a little extra for reliable cables that deliver clear sound.
And if you really want to take your recordings up a notch, consider adding an audio interface to your setup. An audio interface converts your analog audio signals into digital data your computer can understand. It often provides better preamps than your computer’s built-in sound card, enhancing the overall quality of your recordings.
By carefully selecting the right accessories, you’ll not only customize your mic but also create a professional recording environment that makes your audio shine. -give our SonicPulse Studio a go, we think you’ll love them!
Optimizing for Room Acoustics: DIY Soundproofing Tips for a Customized Mic Experience
Now that your mic and accessories are in place, let’s dive into the often-neglected realm of room acoustics. The space where you record can dramatically affect the quality of your audio. If your room echoes like a stadium, it’s time to make some adjustments. Start by identifying any hard surfaces that might reflect sound, like bare walls, floors, and even windows. These surfaces can create unwanted echoes and reverb, making your audio sound muddy and unclear.
One simple yet effective DIY trick to customize your mic setup is to use soft furnishings to absorb sound. Think about adding rugs, curtains, and cushions to your recording space. Rugs can help dampen sound reflections from hard floors, while curtains can soften the harshness of bare walls. Even throw pillows on your couch can help absorb sound waves. If you’re really committed, consider investing in acoustic foam panels. These panels can be strategically placed on walls to minimize echo and improve sound quality.
Another effective method is to isolate your recording space. If possible, find a quiet corner of your home where outside noise is minimal. If you can’t change your location, do your best to minimize external noise by shutting windows and doors. You might also want to try recording during quieter times of the day, like early mornings or late evenings when the world outside calms down.
If you’re feeling particularly crafty, consider creating a DIY sound booth. A simple booth can be constructed using furniture and blankets. Surround yourself with soft materials to create a little sound haven. The goal is to make a cozy spot that minimizes unwanted noise while enhancing audio clarity. You might even discover that your blanket fort is the perfect place to record your next podcast episode!
In addition to these strategies, keep in mind that your microphone placement matters too. Positioning your mic away from walls and corners can help reduce unwanted reflections. Experiment with different placements to find the best sound for your space.
Finally, don’t underestimate the impact of soundproofing. While it might sound like a daunting task, even small changes can make a big difference. If you’re ready to invest, consider installing soundproof curtains or adding mass-loaded vinyl to your walls. These materials can effectively block external noise, creating a quieter recording environment.
to explore more information about soundproofing click here
By taking the time to optimize your room acoustics, you’ll ensure that every word you say comes through loud and clear. Remember, a well-prepared space can significantly enhance your recording quality, making your content more engaging and enjoyable for your audience.
Personalizing the Look: Customize Mic with Stickers, Colors, and Lights
Let’s not forget the fun part of customizing your mic: the personalization! Your microphone isn’t just a tool; it can be a reflection of your personality. Adding some flair to your mic setup can not only make it look unique but also make your recording environment more enjoyable. One easy way to customize your mic is by using stickers. Whether you’re into quirky designs, motivational quotes, or your favorite pop culture references, stickers can give your mic a personal touch. Just make sure they’re not too thick; you don’t want to muffle your sound!
In addition to stickers, think about the colors you can incorporate. If your mic has removable parts, consider swapping them out for colorful options. Many brands offer skins or decals that let you customize your mic without affecting its performance. A vibrant or sleek design can make your setup more visually appealing. If you prefer a minimalist aesthetic, classic colors like black or silver can keep things looking professional while still allowing for a personal touch.
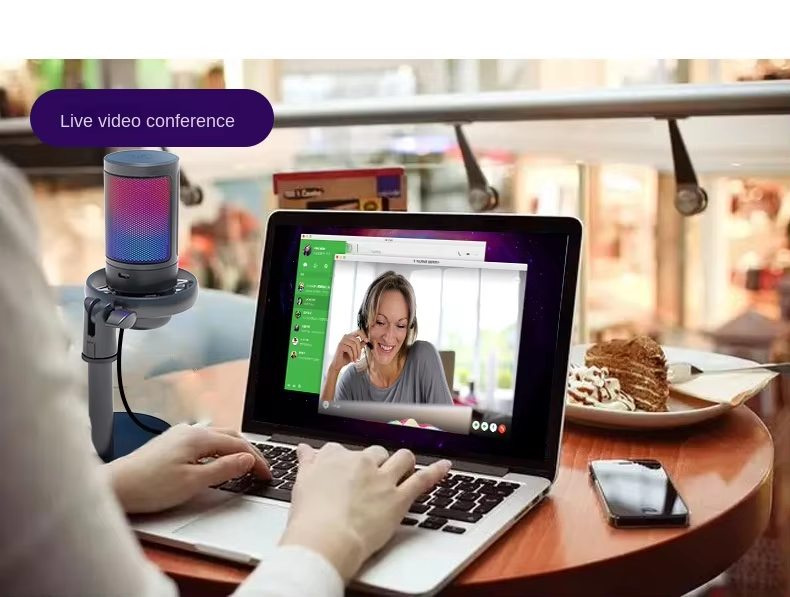
Another fun idea is to explore lighting options. Adding LED lights around your mic or workspace can create an inviting atmosphere that enhances your creativity. Some microphones come with built-in RGB lighting, allowing you to choose from a spectrum of colors to set the mood. Imagine recording in a cozy blue glow or a vibrant red hue that matches your energy! The right lighting can inspire you as you work and help make your recordings feel more dynamic.
Moreover, don’t hesitate to personalize your workspace as a whole. Creating a cohesive look that reflects your style can elevate your recording experience. Consider adding decorative elements like posters, desk mats, or themed shelving that matches your unique flair. With the right mix of accessories and customization, your recording space will not only sound fantastic but also look like a creative haven!
post comments
Together We Rise: A Campaign for Everyone